Copyright Marnie MacLean 2005
Click on Images for Larger View
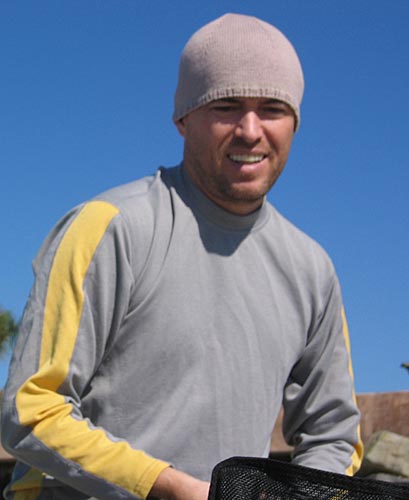
 Carlsbad is a city in the San Diego area of California. Mild temperatures and beautiful beaches can be found year round. Sometimes, the ocean breeze is just cool enough to warrant a hat, but one that is light and breathable.
The Carlsbad hat is constructed largely as the Pismo Hat is. It's a tight fitting beanie knit with fine gauge cotton yarn and using paired decreases for a professional finish. Where the Carlsbad hat differs is in it's weight. Knit in stockinette instead of ribbing, it's a hat you can forget you are wearing. The fabric is light, thin and cool and being cotton, it won't cause sensitive skin to itch.
Supplies
1 skein of Idena Bambino Bomull or another baby cotton in color of choice.
Optional: scraps of contrasting color for stripe(s)
US #1 needles (flat or circular)
6 stitch markers (SM)
Tapestry needles
Gauge
In stockinette
32 stitches x 48 rows = 4"
Sizes
 S [M, L]
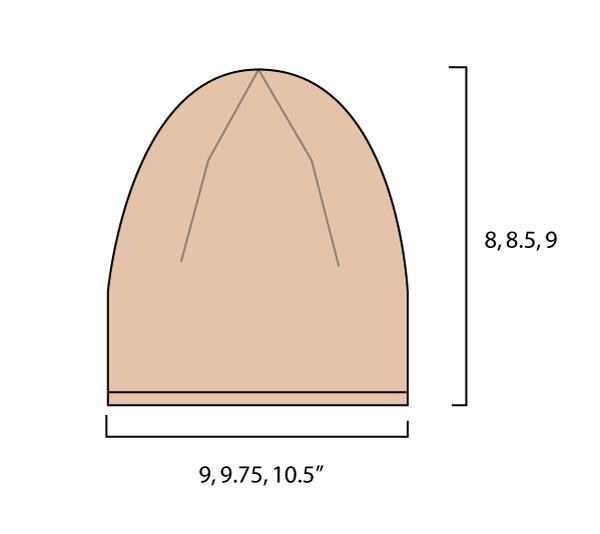
Finished circumference:
18" [19.5", 21"]
NOTE:
If you wish to modify for a different size, add or subtract stitches in multiples of 6.
To determine best size, measure circumference of head. If in between, go down a size.
Hat
 CO 145 [157, 169] stitches
Place a stitch marker after the 12th [13th, 14th] stitch and then after every 24th [26th, 28th] stitch after that. 6 stitch markers total
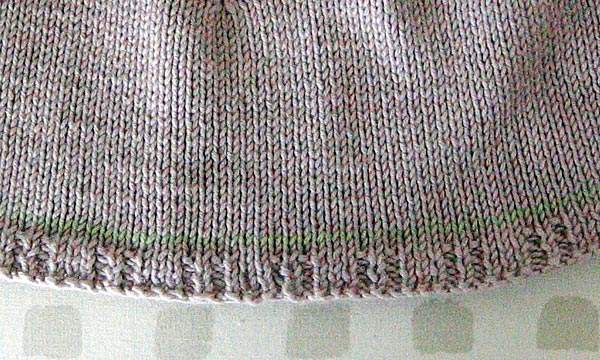
First row: K2, *p1, k1, p1, k3* repeat from * to * to last 5 stitches. P1, k1, p1, k2
Work in pattern established for a total of 5 rows
Next row: P
OPTIONAL: Knit 1 row in contrasting color
Work in stockinette until piece measures 3"
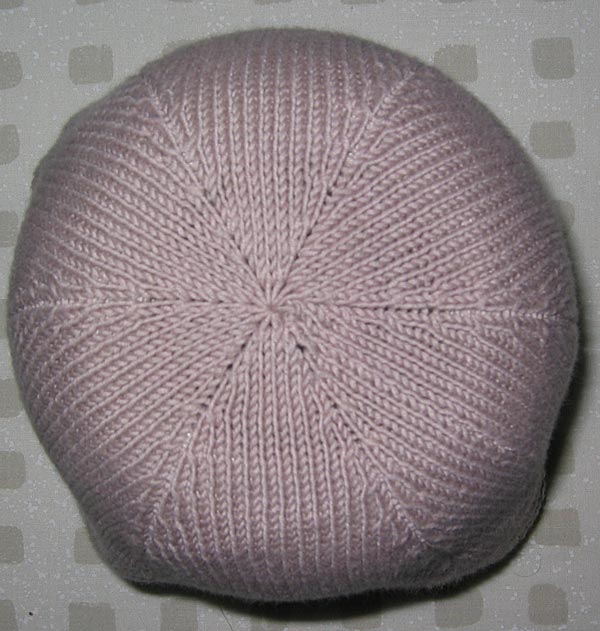 Decrease row : Knit to within 2 stitches of first stitch marker, ssk, slip marker, k2tog. 133 [145, 157] stitches remaining
Note: Reverse the decreases to get a slightly different looking effect. The decrease indicated will give a sort of feathered looking line of decreases. Reversing them will make a smoother looking line of decreases. Alternately, work a vertical double decrease (slip 2 stitches as if to k2tog, knit the next stitch, pass the two slipped stitches over the knit stitch) to make a raised chain of decrease.
Knit 5 rows straight.
Repeat the decrease row and 5 rows straight 1 [2, 3] times more. 121 stitches remaining
 *Work decrease row, then work 3 rows straight* 6 times. 49 stitches remaining
Work decrease row, every other row two times. 25 stitches remaining
Cut a long tail and pull through remaining stitches twice. Cinch tightly.
Use tail to sew up hat from crown to hem.
Weave in all ends.
Blocking
While not entirely necessary, blocking helps the hat to fit a little better and makes it less likely to migrate upwards. Find a head sized object or stuff a plastic grocery bag to head size. Wet the hat and place upon said object. Smooth out the hat.
Allow to dry in place.
Thank you so much for your interest in my patterns. Most of my free patterns were efforts to learn to design and do not conform to industry standards for sizing or terminology. Enough people continue to knit from these designs that I am happy to leave these patterns up for people to use but I cannot offer any amendments or substantial support for them.
As with all my patterns, you are welcome to use these patterns for your own personal, non-commercial or charitable use. If you wish to sell items made from these patterns or teach classes using my patterns, please contact me. Please do not distribute this pattern in print or electronically or post this pattern to your own site or publication. If you wish to share this pattern, please send the person a link to my site.