Copyright Marnie MacLean 2006
Click on Images for Larger View
 Sometimes,
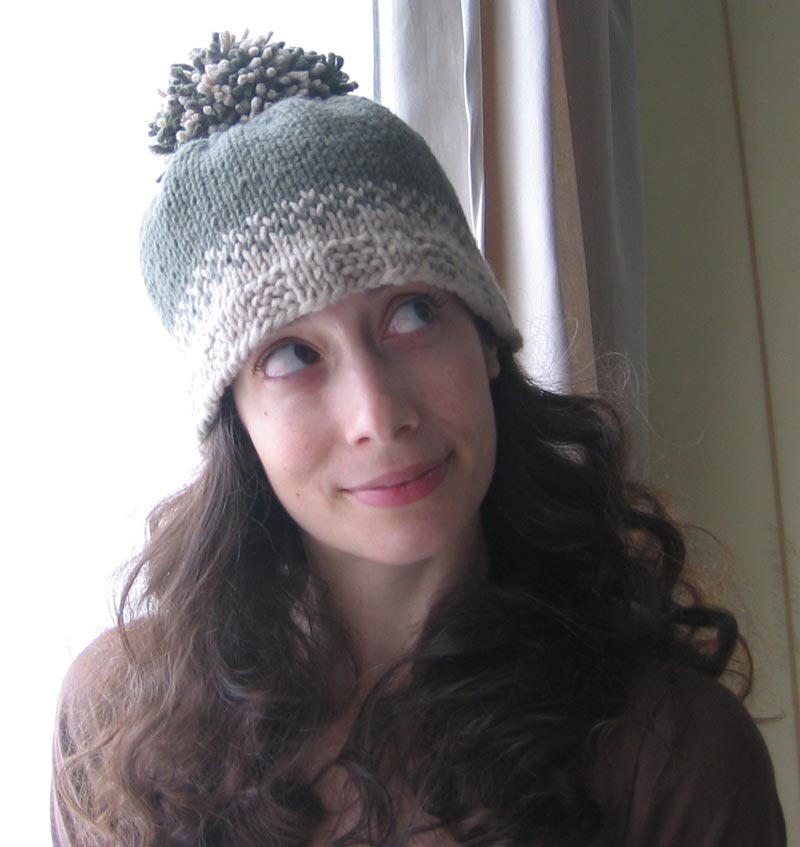
you just want a hat that is warm, comfortable and fun. I bought three skeins
of GGH Aspen, a lovely merino blend, for a steal, and a hat seemed like the
best use for it. I walk my dog early
every morning, and I can pop this hat on and barely feel the chill. I like
this hat knit a little loose, to avoid hat head and ensure comfort. If the
yarn were a finer gauge, I'd make it more snug, but with something this chunky,
loose seems to be best.
Sometimes,
you just want a hat that is warm, comfortable and fun. I bought three skeins
of GGH Aspen, a lovely merino blend, for a steal, and a hat seemed like the
best use for it. I walk my dog early
every morning, and I can pop this hat on and barely feel the chill. I like
this hat knit a little loose, to avoid hat head and ensure comfort. If the
yarn were a finer gauge, I'd make it more snug, but with something this chunky,
loose seems to be best.
Three sizes are provided. The smallest is probably best for children, medium for the average woman's head and large for men. Do measure the wearer ahead of time, though, as some people don't fall perfectly in line with expectation.
Gauge
16 stitches and 22 rows = 4”
Supplies
- US #10.5
- 1.5 Skeins of GGH Aspen in main color
- 1 Skein of GGH Aspen contrast color
- Tapestry needle
- Cardboard
- Scissors
Sizes
- S: 18” circumference 7” tall (not counting pom-pom)
- M: 21” circumference, 8” tall (not counting pom-pom)
- L: 24” circumference, 9” tall (not counting pom-pom)
Chart Legend
Pattern
 This
pattern is worked in three sections. You can click the chart to the right
to see a larger view. The entire pattern is shown in the chart, or you can
follow the verbose instructions below.
This
pattern is worked in three sections. You can click the chart to the right
to see a larger view. The entire pattern is shown in the chart, or you can
follow the verbose instructions below.
Section A
CO 73 [85, 97] stitches in contrast color
Row 1: (Public side) K
Row 2: *P3, K3* to last stitch. P1
Repeat rows 1 and 2, 2 more times or until brim is as long as you’d
like.
Work 2 rows in stockinette stitch.
Begin working stranded band.
NOTE: Some people prefer to go up a needle size when working a stranded
pattern. If your band pulls in to much, you should try a larger needle
size for this portion only.
Row 1: *K1 in contrasting color, K1 in main color*
repeat to last stitch, K1 in contrasting color
Row 2: *P1 in main color, P1 in contrasting color*
repeat to last stitch, P1 in main color
Repeat rows 1 and 2 one more time
Section B
Work 1 [5, 11] rows in stockinette in main color
Section C
Work another 11 rows in stockinette stitch in main color. You should have just finished a wrong side row.
Row 12: (Public side) *K4, K2tog* repeat from * to * to last stitch. K1
All odd numbered rows: Purl
Row 14: *K3, K2tog* repeat from * to * to last stitch. K1
Row 16: *K2, K2tog* repeat from * to * to last stitch. K1
Row 18: *K1, K2tog* repeat from * to * to last stitch. K1
Row 20: K2tog across row to last stitch. K1
Finishing
Cut a long tail and thread end onto tapestry needle. Pull needle through all stitches remaining on needle and remove from needle to close. Use this same tail to sew up the back seam of hat. Weave in remaining ends.
Pom-Pom
 Grab
some cardboard and cut out two 5.5" wide circles. The circle you cut
out will be about 0.5" larger than your final pom-pom so if you wish
to change the size of your pom-pom, adjust your template accordingly.
Grab
some cardboard and cut out two 5.5" wide circles. The circle you cut
out will be about 0.5" larger than your final pom-pom so if you wish
to change the size of your pom-pom, adjust your template accordingly.
Cut the center out of each circle, referring to the template to the left. The larger the circle you cut out of the center, the more yarn you can wrap around the template and the denser your pom-pom will be.
Cut a notch out of the donut (again, refer to template) to make it easier to wrap the yarn around the template.
 Now
holding both circles together, notches aligned, begin wrapping yarn around
template. Refer to diagram on the right. I like to wrap a very long strand
of both colors at the same time, to give a nice mottled effect. Use as much
yarn as you have left or enough to get several layers of yarn wrapped around
template. Don't wrap too much yarn very close to the notch as it will be
hard to control those bits.
Now
holding both circles together, notches aligned, begin wrapping yarn around
template. Refer to diagram on the right. I like to wrap a very long strand
of both colors at the same time, to give a nice mottled effect. Use as much
yarn as you have left or enough to get several layers of yarn wrapped around
template. Don't wrap too much yarn very close to the notch as it will be
hard to control those bits.
Leave one long strand of the main color to tie off the pom-pom.
When you are done wrapping, grab a pair of scissors and slip the tip of them between the layers of the template. Cut along the outside of the donut, carefully, working hard not to lose too many bits as you cut.
Slide the spare length of the main color, between the layers of the template and tie it very very tightly to secure the pieces.
Give it a few knots to make sure it's secure.
Now you can give your pom-pom a haircut to even out the ends and affix it to the hat using the tails of the tie you used to close the pom-pom.
Thank you so much for your interest in my patterns. Most of my free patterns were efforts to learn to design and do not conform to industry standards for sizing or terminology. Enough people continue to knit from these designs that I am happy to leave these patterns up for people to use but I cannot offer any amendments or substantial support for them.
As with all my patterns, you are welcome to use these patterns for your own personal, non-commercial or charitable use. If you wish to sell items made from these patterns or teach classes using my patterns, please contact me. Please do not distribute this pattern in print or electronically or post this pattern to your own site or publication. If you wish to share this pattern, please send the person a link to my site.