
Copyright Marnie MacLean 2005
Click on Images for Larger View
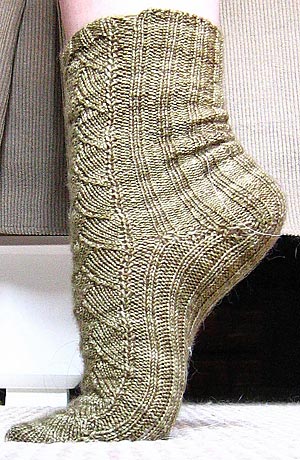
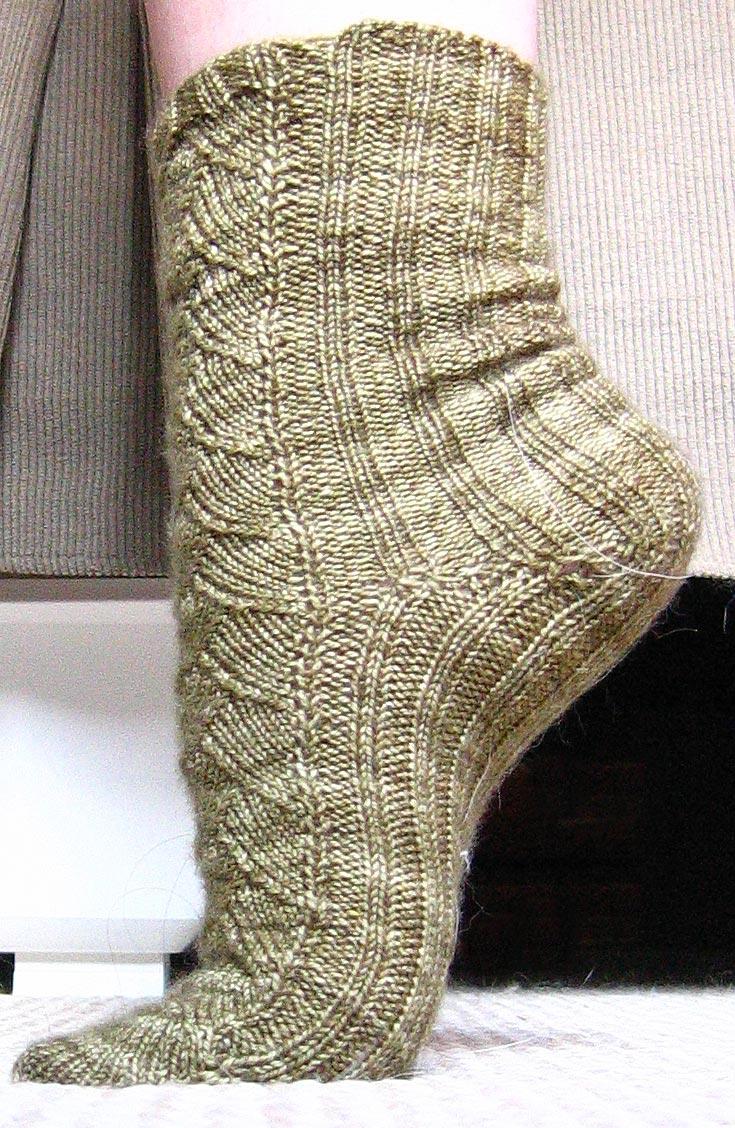
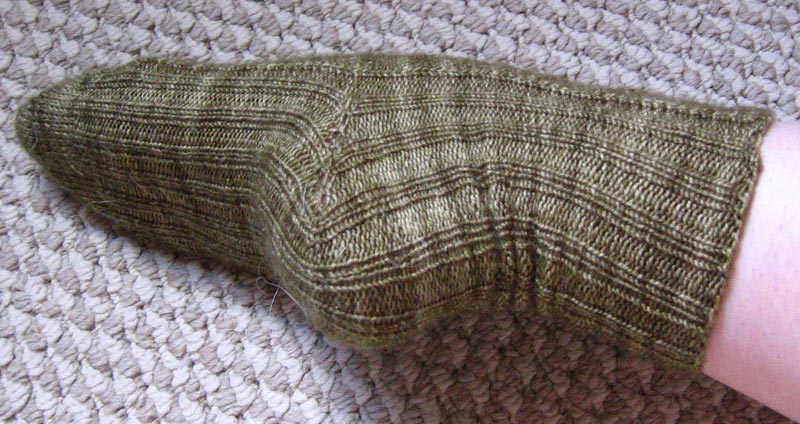
This is my first sock pattern so I've kept the construction very simple, relying on a beautiful yarn and a simple but unique stitch pattern to make it stand out. My foot is rather shapely, in that the ball of my foot is quite wide while the arch is a bit thinner. Because of this, most socks don't hug my foot quite as much as I'd like. I've resolved this dilemma by working the back of the sock in ribbing. For years, people have knit simple tube socks entirely in ribbing to good result. By adding a proper toe and heel, the fit is as customized as possible. But, I will provide instructions for a rib-free foot as well, if you feel it would be more comfortable.
 Gauge:
Worked in Stockinette stitch:
26 st = 4"/10cm on US #2 needles or needle to obtain gauge
Supplies:
- 1 set of 5-US#2 DPNs
- 1 set of 5-US#4 DPNs
- Tapestry needle
- Crochet hook and waste thread for provisional cast-on
- 2 skeins Koigu KPM in color of choice
Sizing
- S: Up to an 8" circumference at the ball of the foot
- M: Up to a 9" circumference at the ball of the foot.
- L: Up to a 10" circumference at the ball of the foot
Pattern
Toe
 You may work any toe you like, but I prefer the short row toe. This
tutorial discusses the technique, along with several others.
You may work any toe you like, but I prefer the short row toe. This
tutorial discusses the technique, along with several others.
CO 26 [30, 34] using a provisional cast on (covered in tutorial). Use the smaller set of needles. Work with only 2 DPNs until indicated.
Knit 1 row straight.
Referring to tutorial, work 8 [10, 11] short rows on each side of the toe, for a total of 16 [20, 22] rows, not counting the first knit row.
Now begin working back and forth, picking up one reserve stitch on each side until all stitches have been worked. Again, refer back to the tutorial as needed.
Arch (non ribbed instruction in italics)
Divide the 26 [30, 34] stitches evenly over two DPNs. Rip out the provisional cast on and divide those stitches evenly over two more DPNs. You should now have a total of 52 [60, 68] stitches divided evenly over 4 DPNs
Referring to this chart:
Work as follows
Round 1 and all odd numbered rounds
Size S: Knit first two needles, work p2, k2 ribbing [knit straight] over next two needles.
Size M: P2, knit straight through remainder of stitches on first needle and to last 2 stitches of second needle, p2. Work k2, p2 ribbing [knit straight] over next two needles.
Size L: K2, p2, knit straight through remainder of stitches on first needle and to last 4 stitches of second needle, p2, k2. Work p2, k2 ribbing [knit straight] over next two needles.
Even numbered rounds
Work 0 [2, 4] stitches in established pattern. Work corresponding row in chart over next 26 stitches. Work remaining stitches in round in established pattern.
Note: I used my row counter to keep track of where I was in the 12 row stitch pattern, instead of keeping track of my total cumulative number of row.
Repeat this process until you are about 2" short of foot length. I worked 5 pattern repeats total and wear about a US sized 8 shoe.
Heel
 You will now work only over the back two needles (the ones that are only
ribbed or stockinette, depending). Turn and work in pattern to last stitch.
Follow the same tutorial you
did for the toe, but maintain the ribbing pattern if desired. The heel
is identical to toe except for the ribbing. Once again you will work 8
[10, 11] short rows on each side of the toe, for a total of 16 [20, 22]
rows.
You will now work only over the back two needles (the ones that are only
ribbed or stockinette, depending). Turn and work in pattern to last stitch.
Follow the same tutorial you
did for the toe, but maintain the ribbing pattern if desired. The heel
is identical to toe except for the ribbing. Once again you will work 8
[10, 11] short rows on each side of the toe, for a total of 16 [20, 22]
rows.
Begin working back and forth, picking up one reserve stitch on each side until all stitches have been worked. Again, refer back to the tutorial as needed.
Your heel is turned and you are ready to complete the cuff of the sock.
Cuff
 Work as for arch for a total of 4 pattern repeats. If you didn't stop
at the end of a full pattern repeat for the arch, remember to pick up where
you left off.
Work as for arch for a total of 4 pattern repeats. If you didn't stop
at the end of a full pattern repeat for the arch, remember to pick up where
you left off.
For non-ribbed version only
Work identically to front 2 needles (Medium will have 4 purl stitches between each lace panel. Large will have p2, k4, p2 between each lace panel)
Switch to larger needles and work for two more pattern repeats. There are now a total of 11 pattern repeats from toe and 6 pattern repeats since turning the heel.
For S and L and non-ribbed version: work k2, p2 ribbing around entire sock for 5 rounds
For M: work p2, k2 ribbing around entire sock for 5 rounds
Bind off loosely
Finishing
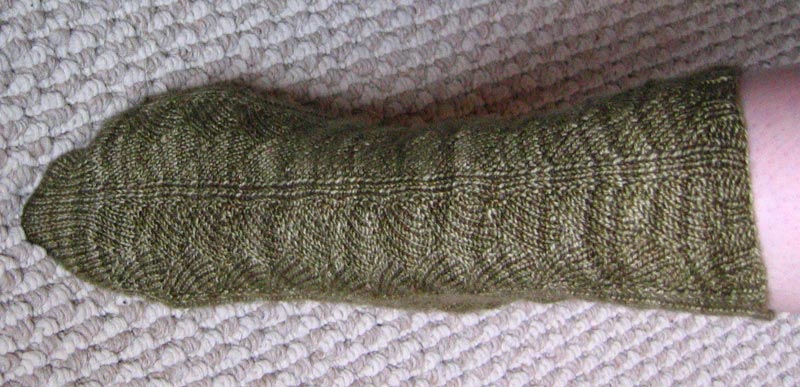
Weave in ends. Block lightly if you'd like.

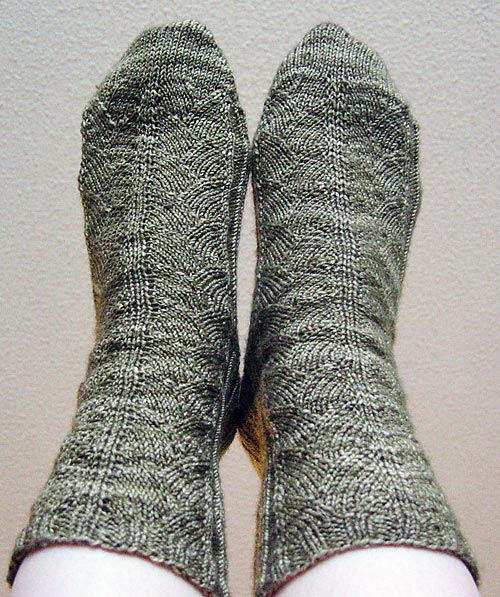
On the left is an unblocked sock, on the right is a blocked sock. It won't make a huge difference if you use the ribbed version and knit the sock snugly. But if you opt to do the non-ribbed version or knit the sock very loosely, blocking will slightly alter the appearance.
Thank you so much for your interest in my patterns. Most of my free patterns were efforts to learn to design and do not conform to industry standards for sizing or terminology. Enough people continue to knit from these designs that I am happy to leave these patterns up for people to use but I cannot offer any amendments or substantial support for them.
As with all my patterns, you are welcome to use these patterns for your own personal, non-commercial or charitable use. If you wish to sell items made from these patterns or teach classes using my patterns, please contact me. Please do not distribute this pattern in print or electronically or post this pattern to your own site or publication. If you wish to share this pattern, please send the person a link to my site.